
How does the Paper Folding Activity of Parabolas Relate to the Construction of a Parabola?
Assignment 3
By Erin Cain
In many mathematics classrooms, teachers use a paper folding activity to help define a parabola to his or her students. In the following write up I will not only explain a lesson plan involving paper folding in order to construct the focus, directrix definition of a parabola, but I will also explain how this activity relates to the actual construction of a parabola.
Paper Folding Activity:
Materials:
Patty Paper (can use regular notebook paper, but it is easier to see on the patty paper)
Pencil
Ruler
Lesson:
To begin with, give each student a few clean sheets of patty paper. On the patty paper, allow your students to draw a thick, black line close to the bottom of the paper. About 2 centimeters above this line, have your students mark a black dot and label it “F”. Let your students place a few dots on the line that they drew. At each dot, neatly fold the paper so that the point F lies directly above the dot on the line.

Try to do this for at least 12 different points and try to space these points evenly across the line. As a result, your creases should form a curve winding partially around F. This curve that is constructed is your parabola.
Let your students repeat this activity a few times on different sheets of patty paper. While they are doing this, let them experiment as they change the position of the line (directrix) and the point F (focus). This is also a good time to identify the definitions of the directrix and the focus.
GSP Construction:
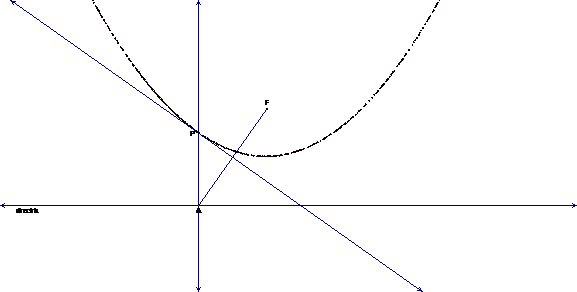
The typical ruler-compass construction of a parabola consists of a few different steps. To begin with, you first need to construct a straight line for your directrix and a point F for your focus.

Next, similar to the paper folding activity, place a point, A, on the directrix and construct a line segment from A to the focus.

We now want to construct the midpoint of segment AF and a line perpendicular to the directrix through A.

Next, construct the perpendicular bisector of segment AF and mark its intersection, P, with the perpendicular line. When we trace this point as we move A, the traces will form a parabola.
If you click HERE, you can animate A. While watching this animation, you should be able to notice that the point P is the point of tangency to the parabola of the line that goes through P and M. You can also move the directrix and the focus to different positions in order to do some more explorations.
So what is really going on here?
From reading the activity description and the instructions on how to construct a parabola, you should have already noticed some similarities in the two. But what mathematical connections are being made here? In the activity that was described, when we fold the patty paper so that the focus lies directly on top of a point on the directrix, the crease is along the line that is equidistant from the two points. In other words, the crease represents the perpendicular bisector of the segment joining the two points. In our construction of the parabola, the crease would be the line that is perpendicular to the segment AF.
Let us look at one single crease made by folding F onto the directrix. In this case we will have a line that is equidistant to the focus, F, and the line drawn on the paper, the directrix. It is important to note here that a parabola consists of all the points that are equidistant to a focus and a directrix.

As we did in our construction, let us call our point on the directrix A. Out of all of the points on the crease, the point P that lies directly above A has a special property. This property is that the point P is equidistant from the directrix and the focus. Therefore P must lie on the parabola.

If we consider any other point that lies on the crease, its closest point on the directrix is no longer A. This means that the new point is closer to the directrix than it is to A. On the other hand, the new point is still equidistant to F and A, so it is closer to the directrix than it is to F. This means that the new point on the crease is too low to be on the parabola. So aside from the point P, all the points on the parabola are above the crease. The parabola touches but does not cross the crease at P. Therefore, the crease is line that lays tangent to the parabola. In order to form another point on the parabola, we need to choose a different point on the directrix, B.

Now we are looking at crease 2. This time the point P’ that lies directly above B has the special property of being equidistant to F and B. Therefore P’ is on the parabola. Any other point on this crease would not be closest to point B on the directrix, but it would still be equidistant to the focus and directrix. Therefore, the rest of the points that lie on crease 2 will be below the parabola. Hence crease 2 is tangent to the parabola at P’.
If you make enough creases through the paper folding activity, a clear picture of the parabola will emerge. If you click HERE, you can see an animation of the creases to form a parabola as point A moves back and forth across the directrix.