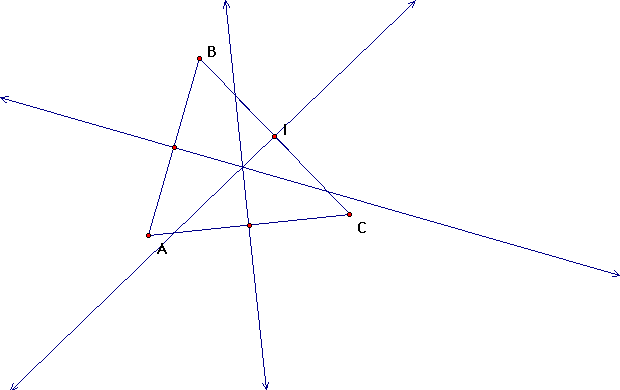
6-2: Altitudes and Perpendicular Bisectors
Using some of the construction methods used in previous sections
and definitions covered in this section we will GSP to construct
the altitudes and perpendicular bisectors of a given triangle.
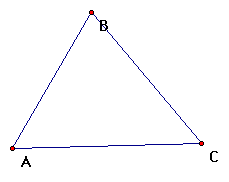
Given the following triangle

Construct the altitudes and perpendicular bisectors of the triangle.
Step by Step Instruction
We start with the given triangle
a. To construct the altitudes of the given triangle we have
to construct a segment perpendicular to each side through the
vertex opposite of the side. To do this we will use our
circle construction tool.
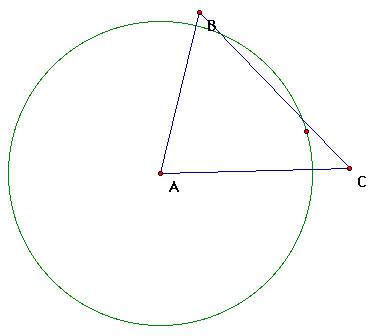
First construct a circle with vertex A as the center such that
it intersects line segment BC in two places. (Select your
circle construction tool, start with the point at vertex A and
expand the circle till it intersects line segment BC.
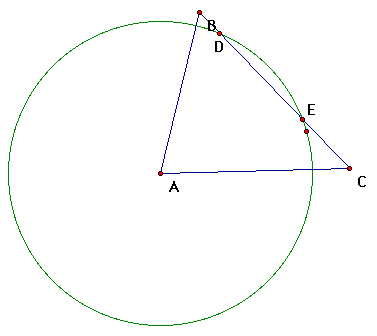
Label the points where the circle intersects line segment BC,
point D and point E
b. We can now hide this circle. (Highlight the circle, from the
"Display" menu select "Hide Object") Then
we want to construct a circle in the same manner with center as
point D; this circle should have a radius more than half the distance
from pt D to pt E but intersects line segment DE.
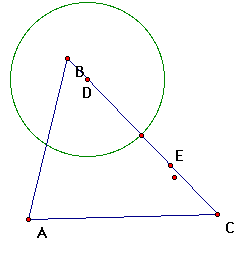 c. Next we need to construct a circle with center point
E and radius equal to the circle we just constructed. To make
it accurate let's construct a line segment from point D to the
intersection point from the circle and line segment DE. Now that
we have a radius to go off of we can construct our second circle.
(Highlight our radius and point E, from the "Construct"
menu select "Circle by Center + Radius")
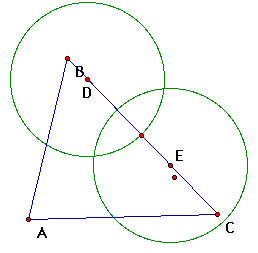 d. Identify the point of intersection of the two circles
that lies outside the triangle then construct a segment from this
point to vertex A.
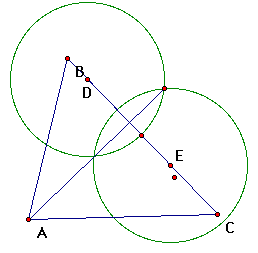 e. Now identify the point where our new line segment
intersects side BC and construct a line segment from this point
to vertex A. Hide all but the triangle and the new line segment.
What we have is the given triangle with one of it's altitudes.
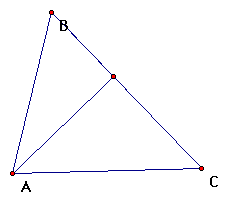 Let's explore this altitude. First let's prove that
it is actually the altitude by proving the segment is perpendicular
to side BC. We do this by measuring the angles on either side
and verifying they are right angles. (Highlight points A, F and
C, from the "Measure" menu select "Angle"
then do the same for angle AFB.)
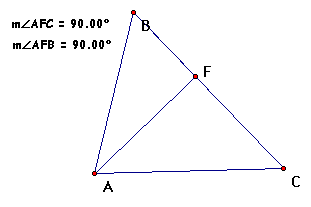 Now that we have shown that it is the altitude let's
show that the altitude doesn't always lie in the interior of the
triangle. First let's extend line segment BC and line segment
AF into lines.
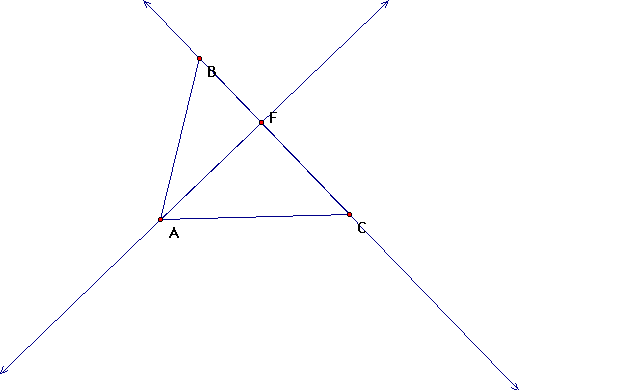 To show the altitude doesn't always lie in the interior
of the triangle we can move vertex A around to change the shape
of the triangle.
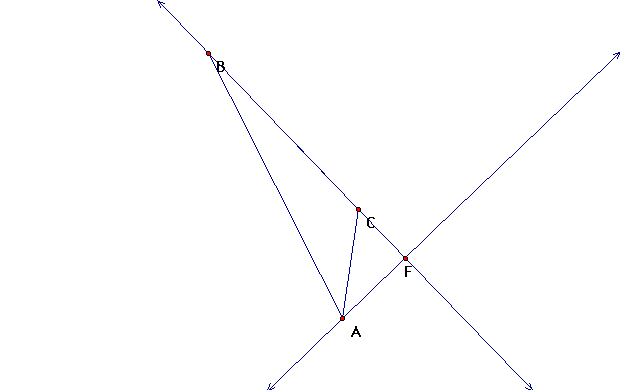 Here we have shown that if we have a right triangle
the altitude is actually the side of the triangle
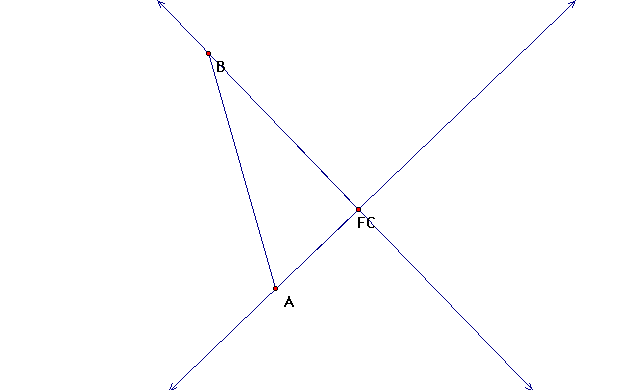 Now we have shown that altitudes can sometimes lie
outside of the triangle
So, using the previous method construct the other altitudes
of the given triangle. (Hint: Extend the sides of the triangles
to lines)
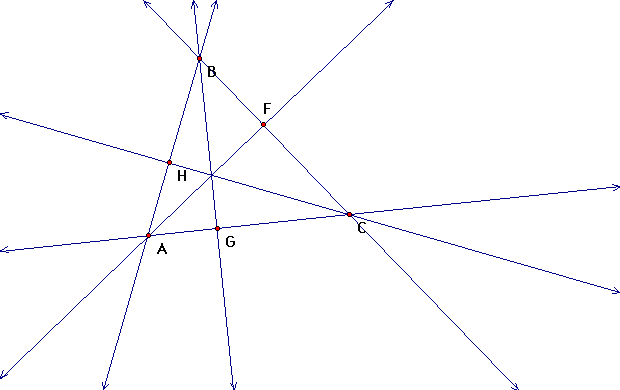 Our altitudes are line segments AF, BG, and CH.
Now let's discuss the perpendicular bisectors.
Again we start with our given triangle.
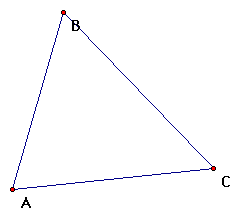 a. Using previous construction methods locate the midpoint
for line segment BC.
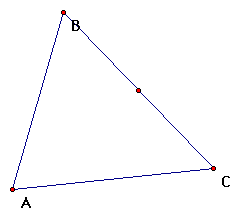 Now we have to construct a line perpendicular to side
BC through the midpoint
b. We first construct a circle with center as point
I that intersects side BC in two places and identify the two points
of intersection.
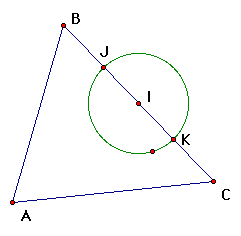 c. Now construct a circle with center pt J that intersects
side BC between points I and K. You can hide the first circle
to eliminate any confusion.
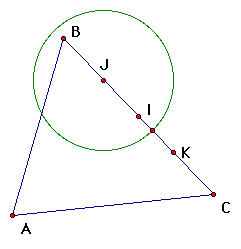 d. Then construct a circle with center point K and
radius equal to our last circle. Then identify the points where
the two circles intersect.
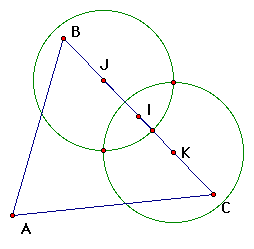 e. Finally we construct a line through our two intersection
points and hide our circles and excess points and we have our
perpendicular bisector
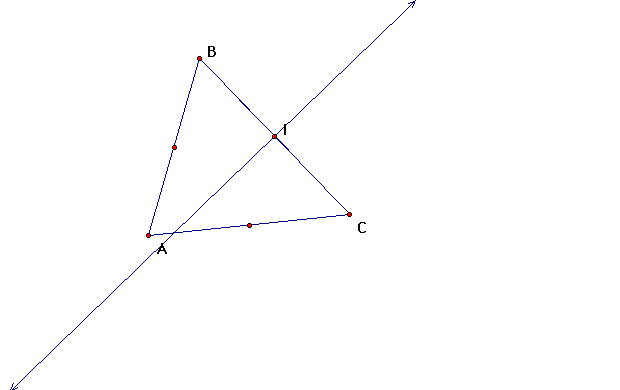 Now construct the other perpendicular bisectors using
the same method


